Your shopping cart is empty!
MENU

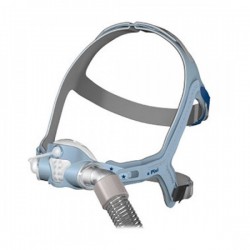
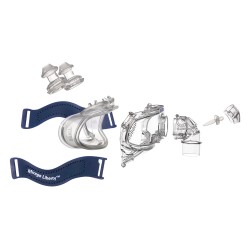
**THIS ASSEMBLY KIT INCLUDES THE FRAME AND CUSHION ONLY.
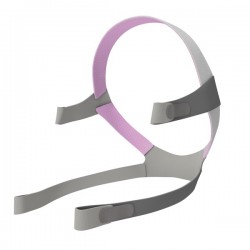
HEADGEAR CAN BE PURCHASED SEPARATELY: ResMed Airfit N30i Headgear Replacement
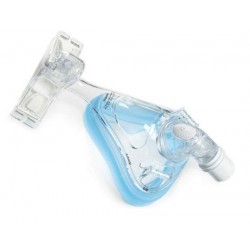
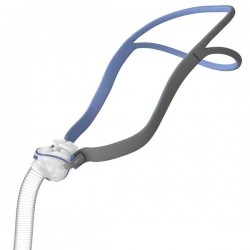
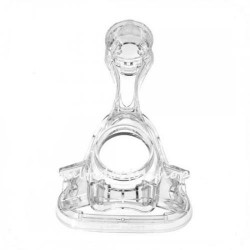
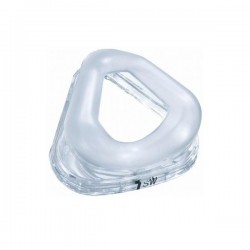
In this kit, you’ll get a frame, cushion, and elbow for your N30i CPAP mask. The AirFit N30i features a low–profile nasal cushion and is designed to move with you, making it ideal for active sleepers.
Features
To view more features about this mask, please see the ResMed Airfit N30i Nasal CPAP Mask Page
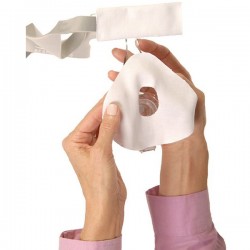
![]()
How to put together the various CPAP mask parts of your ResMed AirFit N30i.
Follow these assembly instructions so you can begin using your minimal-contact nasal cradle CPAP mask for sleep apnea therapy.
Step 1 - Ensure you have all the mask components and parts together.
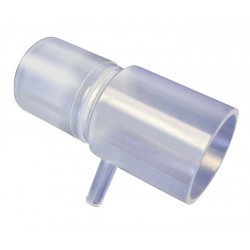
Step 2 - Connect the elbow to the frame.
Step 3 - Thread the left end of the headgear into the left side of the frame and fasten the tab.
Step 4 - Thread the right end of the headgear into the right side of the frame and fasten the tab.
Step 5 - Insert the ends of the frame into the cushion, ensuring that the arrows on the cushion and frame are aligned.
Note: If the elbow ring detaches, re-insert into the top of the frame.
These instructions are for general information purposes only.
For full details please consult the user guide.
How to take apart the various CPAP mask parts of your ResMed AirFit N30i.
Follow these disassembly instructions for your minimal-contact nasal cradle CPAP mask.
Step 1 - Ensure your mask is disconnected from your machine.
Step 2 - Pull the cushion out from one end of the frame.
Step 3 - Pull the cushion out from the other end of the frame.
Step 4 - Unfasten the headgear tab from one side and pull it out of the frame.
Step 5 - Unfasten the headgear tab from the other side and pull it out of the frame.
Step 6 - Squeeze the side buttons on the elbow and pull up to release it from the frame.
These instructions are for general information purposes only.
For full details please consult the user guide.
How to fine-tune the fit of your ResMed AirFit N30i minimal-contact nasal cradle mask so you can begin using CPAP therapy more comfortably on the first night.
Step 1 - Pull the frame and headgear over your head until the elbow is positioned on top and the headgear is behind your head.
Step 2 - Place the cushion under your nose.
Step 3 - Tighten or loosen the headgear until the cushion fits comfortably under your nose.
Step 4 - Squeeze the side buttons on the elbow and detach from the frame. Connect the air tubing from your device to the elbow, then reattach to the frame.
These instructions are for general information purpose only. For full details please consult the user guide.
How to manage mask leaks when your ResMed AirFit N30i minimal-contact nasal cradle mask is compromised by movement, incorrect fitting or improper sizing. Includes CPAP mask adjustment tips.
Step 1 - Locate where the air is escaping from, which is typically above or below the cushion.
Step 2 - Adjust the cushion by gently pulling it away from your face and letting it reseal itself.
Step 3 - Adjust the headgear as needed to achieve a more secure seal.
Step 4 - Check the frame is secure and that the mask elbow and tubing are not pulling on the mask.
These instructions are for general information purpose only.
For full details please consult the user guide.


")